Ray Marching / Sphere Marching
Ray marching
Definition
Ray marching is a rendering method, where a ray is cast from a point of origin in a direction, and is subdivided into smaller segments until an intersection with a surface is detected. The segmentation is often done using spheres, hence the other name for ray marching: sphere marching. It can also be achieved using cubes, but that won’t be covered here. The surface that the ray intersects with is defined by signed distance functions.
How it works
Ray marching is very litteraly named. We are trying to move along a ray to find a surface. The movement along the ray is done in steps. For each step we check the distance from our current position to the closest surface, add that distance to the total distance traveled along the ray, and update our current position for the next step.
In the following stunning GIF, the steps are represented by the orange circles, the current position is the red circles, and the green line is the distance to the closest surface.
We repeat that process until one of three things happen:
-
We exceed the set maximum number of steps.
-
The distance we measure is smaller than the minimum distance to a surface. In other words: we are close enough.
-
The distance traveled along the ray exceeds the set maximum distance.
Once one of those conditions is met, we return the distance traveled along the ray, which corresponds to the distance from the camera to the surface. Then we move on to another ray, and repeat the whole process.
Implementation
- Casting Rays
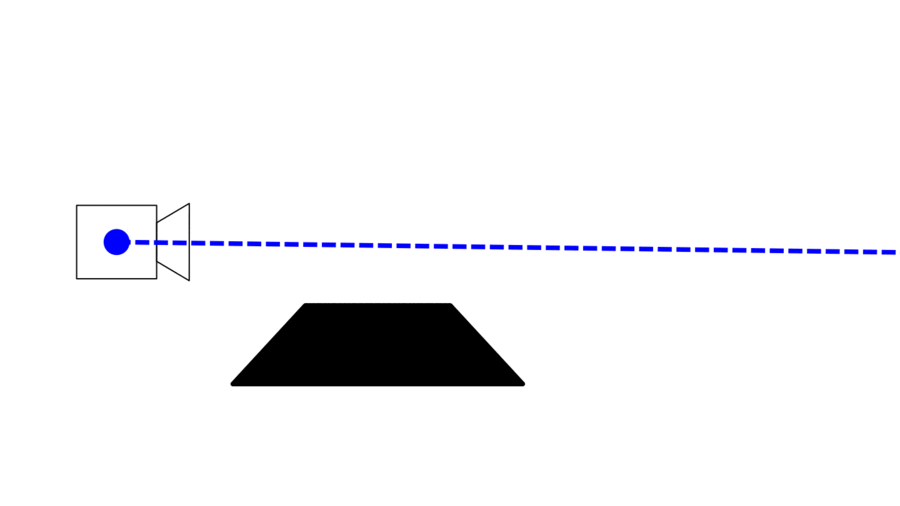
The first thing we have to do is to cast rays that we can march along. This is the equivalent of a camera, it is placed in the world and points at something, or in other terms is has a position and a direction.
    vec3 ray_origin = vec3(0,1,0);
    vec3 ray_direction = normalize(vec3(st.s, st.t, 1.));
The ray_origin vector is quite simple, it’s at the center of the world, slightly elevated above the scene. The ray_direction vector is a normalised, or unit vector that defines where the camera points. The first two parameters, st.s and st.t are the canvas coordinates, which means that we cast a ray for each fragment. The last parameter gives a “forward” direction in the z axis. And we use the normalize function to get a vector with the same direction but of length 1. See Math for more info on normalised vectors.
And with these two variables we now have our camera, or rays.
- Marching along the rays
The next step is to define the ray marching function.
First we define the three variables we’ll use as break conditions in our ray marching loop like we mentioned above.
- MAX_STEPS, the maximum number of steps to take along the ray. It will greatly determine how precise the ray marching will be. Can give cool morphing effects when set low.
- MAX_DIST the maximum distance we want to travel along our ray.
- SURFACE_DIST, the minimum value for the distance between the current position and the closest surface. In other words: it’s precision. The smaller the number the closer to the surface our ray marching will go. Raymarching is not exact, it’s an estimate of where a surface is, but we can decide to make it more or less approximate.
#define MAX_STEPS 100
#define MAX_DIST 100.
#define SURFACE_DIST 0.01
The we define the ray marching function, that we creatively call “raymarch”.
float raymarch(vec3 ro, vec3 rd){
    float distance_traveled = 0.;
    for(int i = 0; i<MAX_STEPS; i++){
        vec3 current_pos = ro +distance_traveled*rd;
        float distance_closest = sdfSphere(current_pos);
        distance_traveled += distance_closest;
        if(distance_closest<SURFACE_DIST || distance_traveled>MAX_DIST){break;}
    }

    return distance_traveled;
}
Let’s break this function down and start by the parameters. The raymarch function takes in the two ray variables we created earlier: the ray’s origin ro and the ray’s direction rd.
We set the total distance traveled along the ray to 0, because we have just begun marching.
Then we make a for loop that will run for the maximum number of steps. Inside this loop, we have our step code.
    for(int i = 0; i<MAX_STEPS; i++){
        ...
    }
First we set our current position to be how far we’ve traveled along the ray so far. So for our first step, where we haven’t marched along a ray yet, that would be our camera’s position ro.
vec3 current_pos = ro +distance_traveled*rd;
Then we get the distance from our position to the closest surface by calling sdfSphere(), which will be explained in the Signed Distance Functions chapter later. The distance is added to the total distance traveled, which will in turn change the current position of the next step.
float distance_closest = sdfSphere(current_pos);
distance_traveled += distance_closest;
And lastly, we check for break conditions that we talked about earlier.
    if(distance_closest<SURFACE_DIST || distance_traveled>MAX_DIST){break;}
    }
For an explanation on the SdfSphere() function, check out the page about Signed Distance Functions.